
If you jump between using the Outlook desktop client, the mobile app, and the Outlook Web App you need to create a signature for all three applications since they do not share the same signature. In another post we will provide the instructions on adding a signature in the Outlook desktop client.
Here is how to create a signature in the Outlook Web App (OWA).
Be aware that Microsoft is changing the look of OWA, which also changes how to access the settings and email signature page. Instructions for each view are included below.
“Classic View”
-
-
-
- Logon to https://outlook.office365.com
- Click the settings gear at the top right and then click Mail
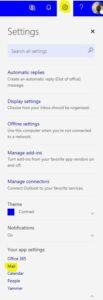
3. On the Options page that opens, on the left-hand pane, under Mail | Layout, select Email Signature
-
-
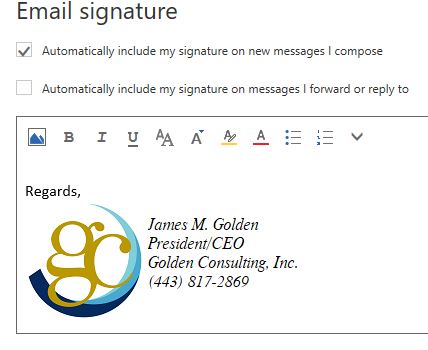
- 4. Enter the text for your signature, using the formatting tools to modify how it is displayed. You can add images if you like.
Choose whether your signature is automatically appended to new messages or messages that you forward or reply to, and then click Save.
“New Outlook”

If you turned on the “new Outlook” view using the toggle button in the upper right-hand corner, the instructions are slightly different.
-
- Logon to https://outlook.office365.com
- Click the settings gear at the top right
- Click View all Outlook settings
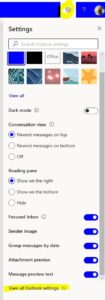
4. On the Settings page, select Mail on the left-hand side, then select Compose and reply from the middle pane.
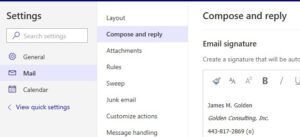
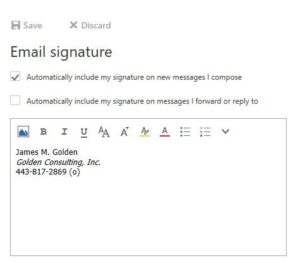
5. Create your signature as you would like it to display, specify whether to include on new messages or replied to messages, and then click Save in the upper right corner.
In the “new Outlook” view there is no way to add an image, other than linking to an image hosted somewhere on the web. To add an image to my signature, I found that it was easiest to simply switch back to the the “Classic” view, create my signature with an image, save it, and then switch back to the new view.